This is a follow on from a previous post What are Webhooks. If you don’t know what webhooks are, take a look at that post first them jump back here.
In that post, we covered why you would want to process webhooks with Zapier.
It’s because in practice, it’s very unlikely that the app that sends a webhook send the data in the same format that the receiver understands.
Another reason is simply because Zapier supports so-freaking-many apps. When you catch a webhook, it makes it possible to do loads of different things in the apps you use.
This post assumes that you know a little about Zapier already. If you’ve never used it before, considering checking out my Zapier course or just sign up for Zapier and play around.
Let’s dig into it.
Catch the webhook with Zapier
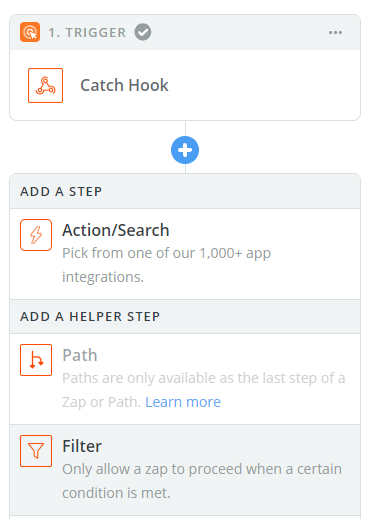
The first part is to catch a webhook send from one app.
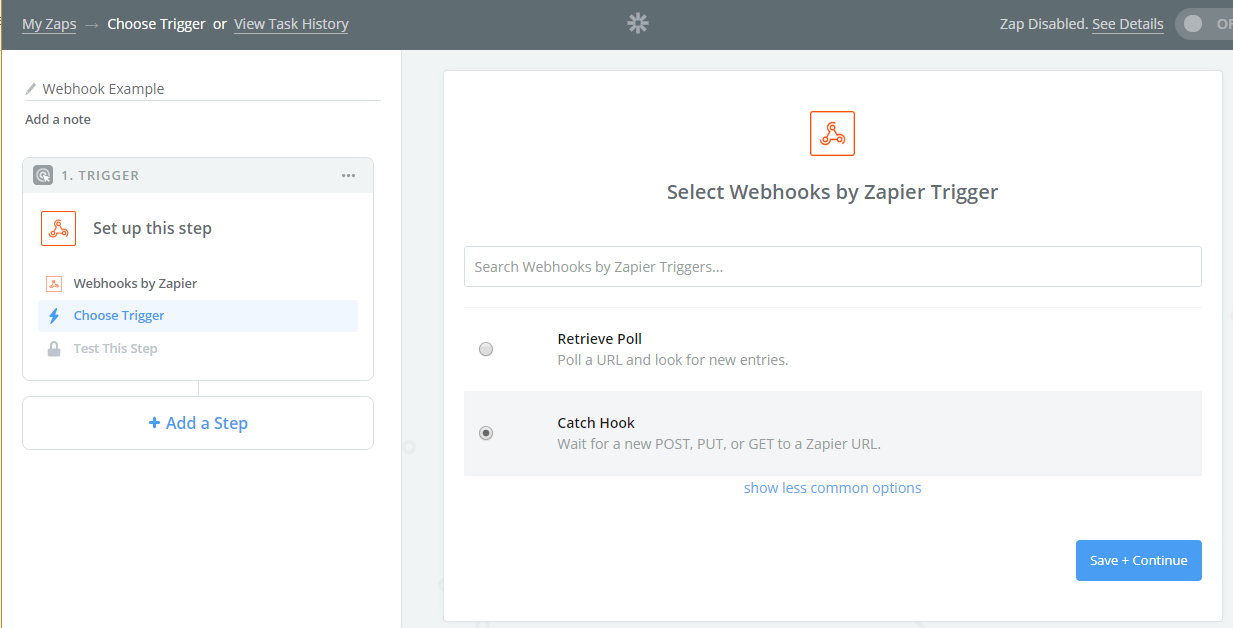
Create a new Zap and select the app “Webhooks by Zapier” and choose “Catch Hook”.
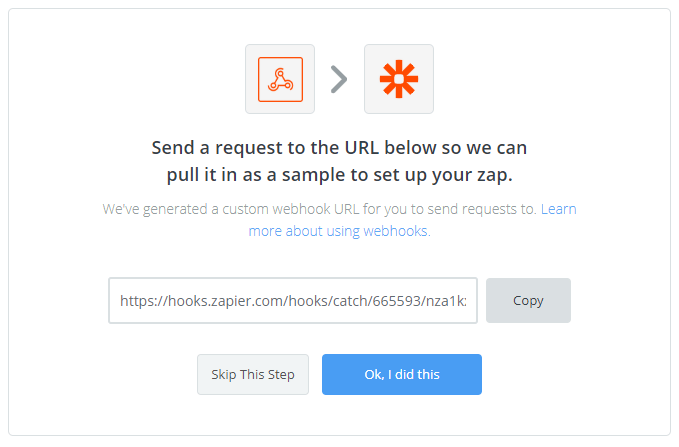
On the next screen, you’ll see a URL that starts with “hooks.zapier.com”. Hit the copy button. Don’t click the buttons at the bottom yet.
Set up the webhook
This part will vary based on the app you are using. Look for webhook settings in the app that is sending the webhook. It might be under developer settings.
Generally, all it will need is a URL. Some apps might also have checkboxes for which events you would like to send. If this is the case it’ll be up to you to decide which events you want to send.
I’ll use Active Campaign as an example. In Active Campaign, you can send a webhook as part of an automation.
The example below is triggered by someone being added to a list. It then sends a webhook. Clicking the purple block opens a box with only 1 setting: the URL. I’ve pasted the URL from the previous step.

Test it
Back over at Zapier, if you read the previous screenshot, it says
“Send a request to the URL below so we can pull it in as a sample to set up your zap”
This means you need to cause a webhook to fire and get sent to Zapier. This is so Zapier knows what data will be coming in so we can use that data in Zap actions.
Some apps have a “send test webhook” button. If so, go ahead and hit that.
Otherwise you might have to wait for one to be sent, or contact their support to find out how to generate one.
In the Active Campaign example, I can simply add someone to my list. Then this automation will fire and it will send the webook.
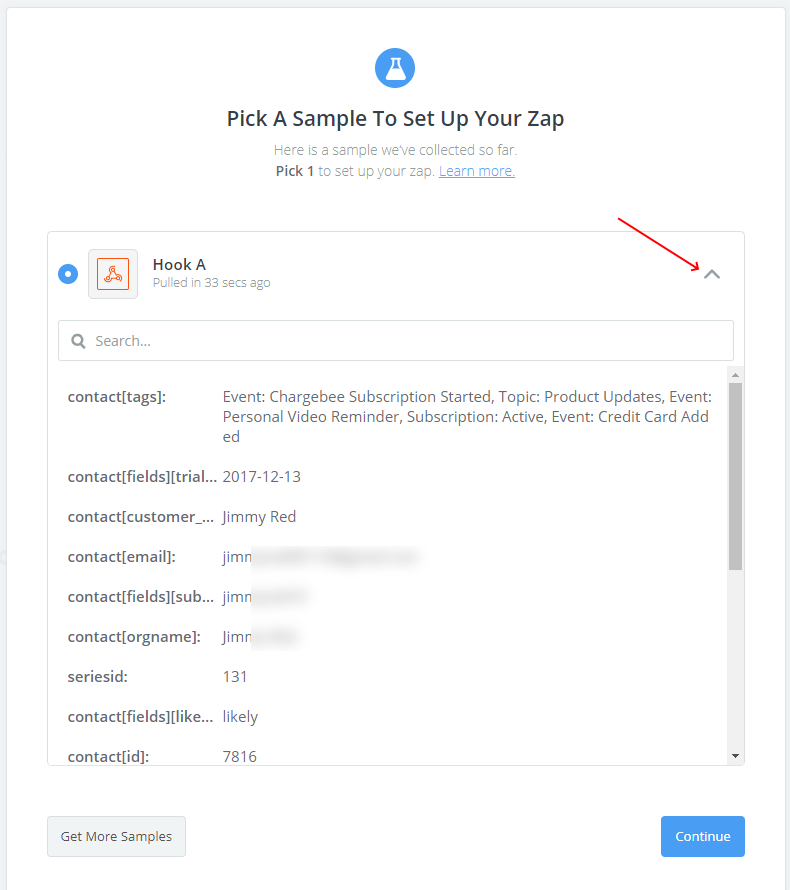
Back over at Zapier, click the “Ok, I did this” button and it will find your data. Click the arrod on the right of “Hook A” to view the data that came in. Then click Continue.
Filter it
This part will also depend on what app you are using.
Some apps send a webhook for lots of different events to the same URL. For example, a payment gateway like Stripe might send:
- Payment success
- Payment failed
- Credit card updated
If these are all going to the same URL, you need to filter out the ones you don’t want. If you don’t, your Zap will fire on all of these. If the Zap is to send an email to someone that paid you money, it wouldn’t be great to send them that email if a payment failed.
In my Active Campaign example – we already know the event because this webhook is being sent only when the automation runs. In this case, it’s a “new subscriber” event.
You might also want to filter on other conditions. Maybe you only want to continue if Stripe sends “payment successful” AND the product is called “Product 1”. You do this in the same step.
Creating the filter
This step is only required if you want the Zap to continue in certain conditions. If it should run every time, you can leave it out.
First, add a step to your Zap and select Filter.
Choose “Only continue if…”, then Save & Continue
Now you have to set up the conditions.
Click the down arrow in the first column to see all the data that came in from your webhook.
If you need to filter for a certain event, look for data about the event. It’s different for every app, but try searching for “event” after you open the dropdown.
In the example below you can see the data “Event Type”. The value is “subscrption_cancelled”. So, the condition was set up as “(Text) Exactly matches”.
Add the rest of the conditions here.

Create an action
Now, unfortunately, this part is very hard to create a guide on. The action will be different for every person reading this depending on what app you’re using and what you want to do.
The last screenshot shows a filter that works with somebody cancels their subscription. In this case I created a Bonjoro action to send this person a personal video.
The setup is shown below.

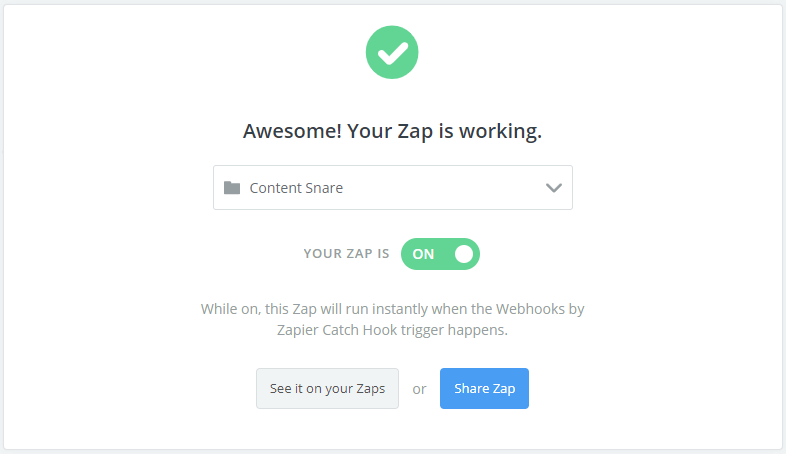
When you’re done, click continue, run a test if you like then turn your zap on!