Client onboarding is one of the most important phases of a project. If you miss things, they can come back to bite you hard later.
But when you’re juggling so many different things in your business, it’s easy to slip up. When you automate client onboarding, it’s far less likely that this will happen.
There’s less chance of human error. Plus… everything you automate is just one more task off your plate forever.
This client onboarding automation was originally aimed at creative and digital agencies, but it applies to any client-facing service business.
Let’s dig into ideas on how you can automate your client onboarding.
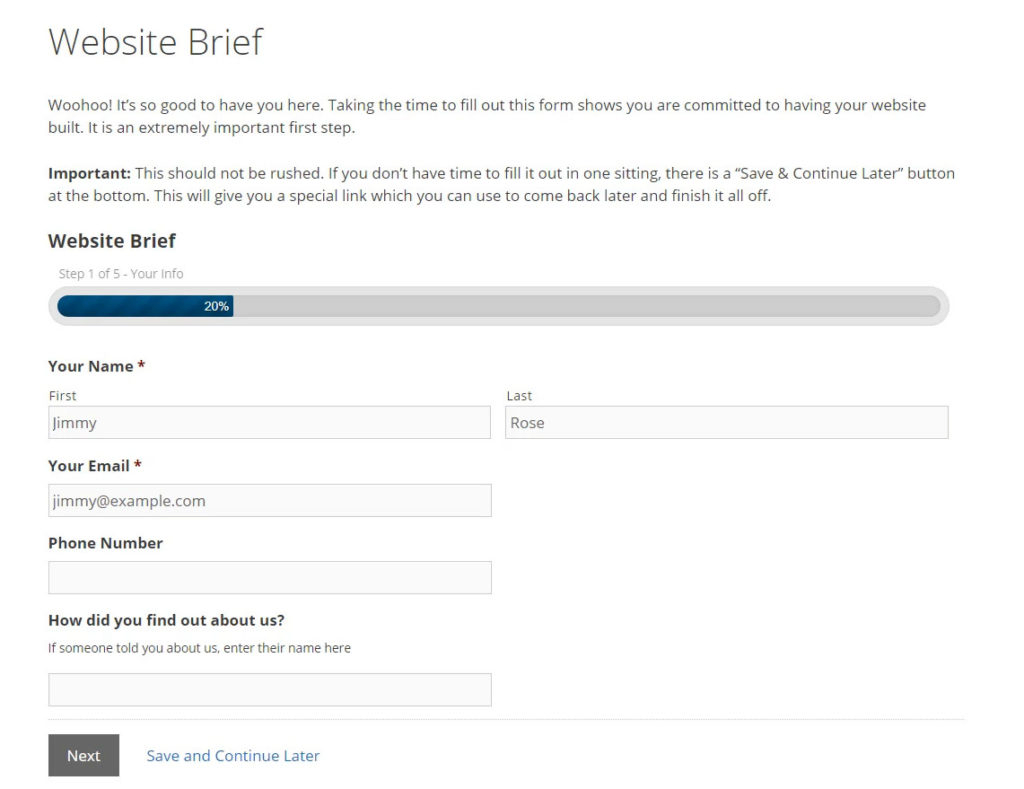
Screening Questionnaire
This is usually a simple form with the aim of gathering some initial information from your client. You might include:
- Basic business info
- What services they are looking for
- Their budget
- Timeframes
- Expectations
- Other red flags questions
It should be short and to the point. You don’t want unnecessary friction this early in the process as it could put them off working with you.
It might look something like this:
To get an idea of what kind of questions to ask, here are a bunch of great questionnaires to check out:
- Agency client onboarding questionnaire
- Creative brief questions
- Web design questionnaire
- Logo design questionnaire
- Social media questionnaire
- Client intake form (general)
1. Choose a good forms tool
First, you should use a forms tool that has an integration with Zapier.
Note: Zapier is an automation tool that connects different apps. If you don’t know what it is, check out this Zapier tutorial.
If you’re using WordPress, try Gravity Forms or Fluent Forms. If not, try something like Typeform or Google Forms (free)
2. Automatically add leads to your CRM
The simplest automation to start with is to automatically add people that fill out your form to your CRM.
The workflow is extremely simple and a great place to start.
In Zapier, you create a workflow that says:
- When a form is submitted
- Add the person to my CRM
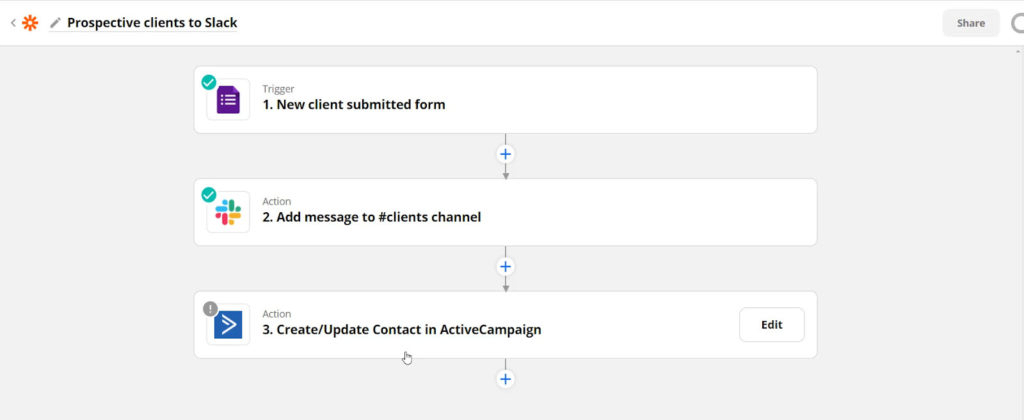
3. Create a Slack notification for new leads
Like shown in the example above, you could also add a message to your Slack channel when someone fills out your initial questionnaire.
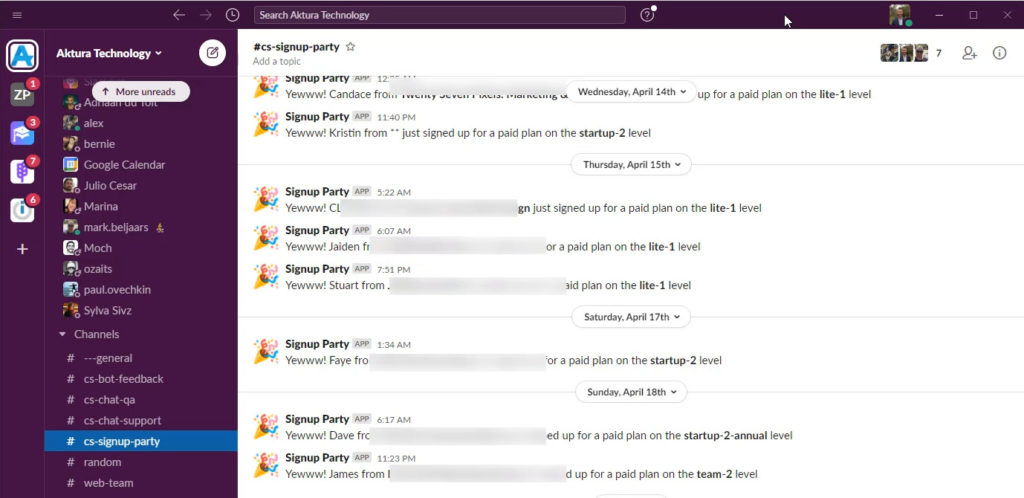
This is a great way to keep your team updated about new leads that are coming in, and can be used to quickly and easily follow up on new leads.
It can also serve as motivation. We have a channel that tells everyone when new people sign up for our product Content Snare – which is fun to see.
4. Send new leads to yourself via SMS
You could extend the above workflow to also send yourself an SMS when someone fills out your form.
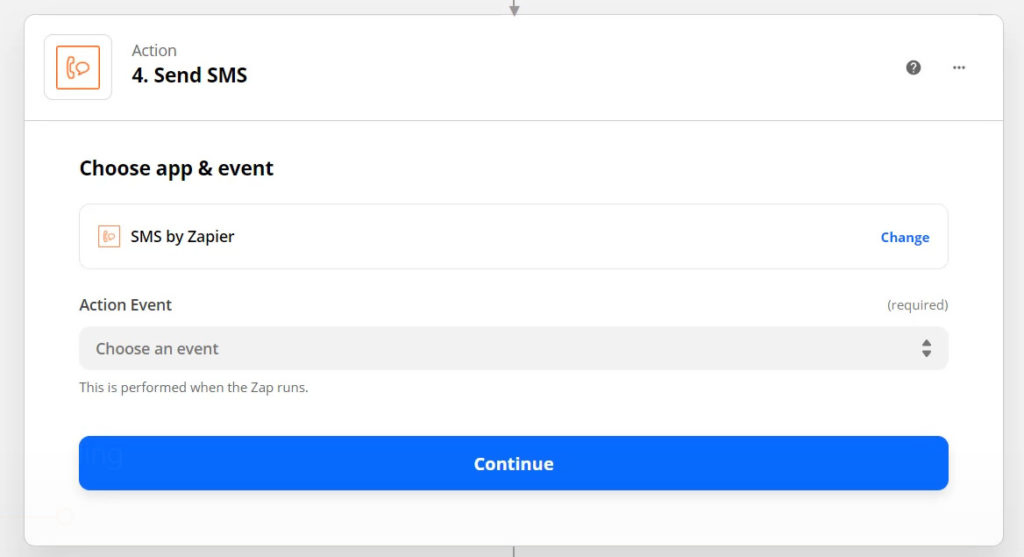
If you include the lead’s phone number, it will show up as a clickable number so you can call the person immediately. It’s pretty impressive if you can respond so quickly when a potential client fills out your form.
Initial Call
At some stage you’re likely going to get on a call with your prospective clients.
There isn’t a whole lot you can automate on the call itself, but you can make your life easier by automating some parts around it.
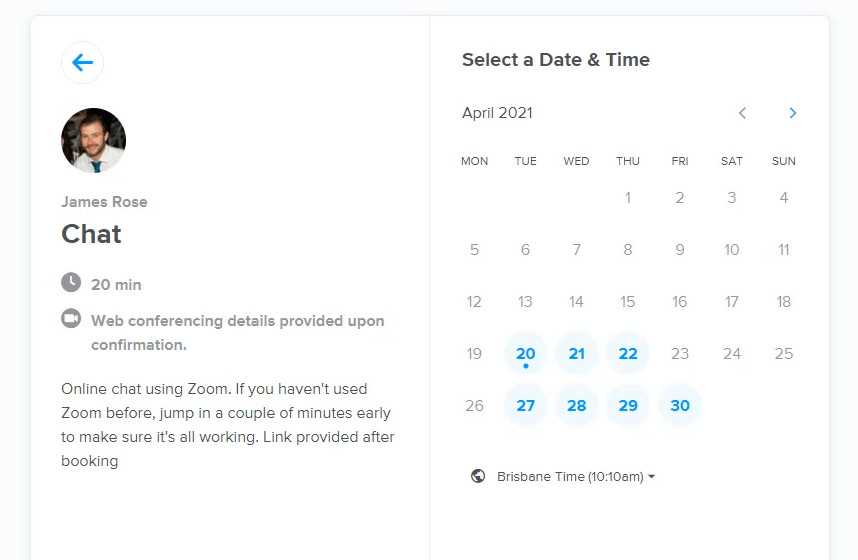
5. Use a booking system
Going back and forth via email to find a time that works for both you and the other person can be a pain.
Booking systems make it very easy for people to find a time and automatically add it to their calendar. These systems check your own calendar for availability, so that you’re never double-booked.
My tool of choice is Calendly. It has the simplest interface I have seen, which is very important. The less friction for clients, the better. And just about everyone can work out Calendly.
With their Zoom integration, it will even automatically create a Zoom meeting (if you’re doing virtual meetings). All you have to do is show up on time.
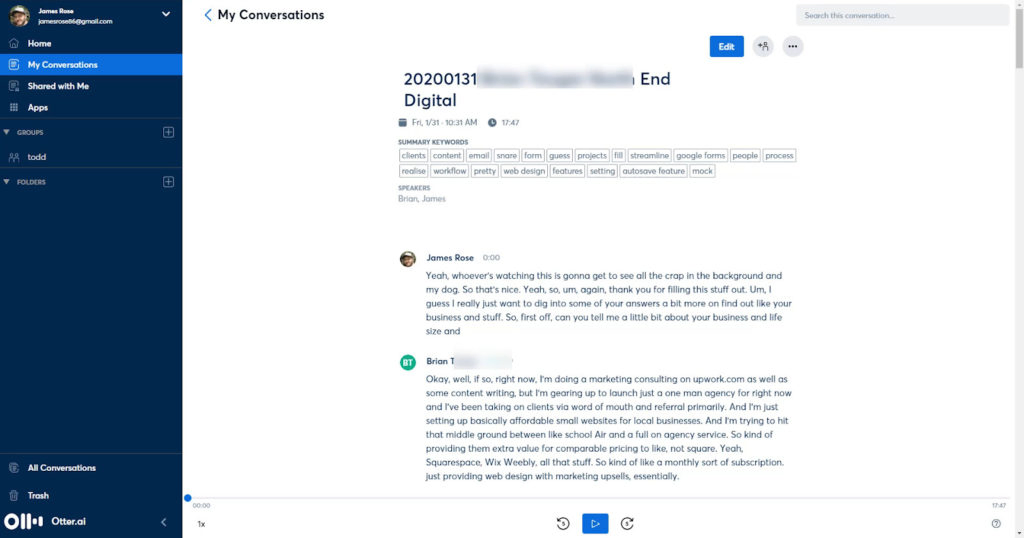
6. Transcribe your meetings and calls
When you have meetings with clients, it’s easy to miss key points if you’re trying to take notes throughout it. It’s also hard to relay all that information to your team.
Recording and transcribing your calls and meetings gives you something to refer back to later, if you need it.
Otter.ai can transcribe your Zoom calls, or you can use the phone app and sit it on the desk during your meetings. It’s even smart enough to pick out different speakers.
Proposals and contracts
This part will differ a little based on your business.
Some people send both a contract and a proposal.
Often a “contract” would be primarily composed of legalese like terms and conditions, with an appendix at the back that includes the project scope and the pricing. These documents are often black and white and super boring for the client.
I usually gravitate towards sending a “proposal” that gives us an opportunity to explain why we’d be a good fit, provide pricing and deal with objections all within the same document. So a proposal might include sections like:
- Introduction to the project
- Why choose us
- Timeline
- Pricing
- Frequently asked questions
- Terms and conditions
So how do you automate your proposals?
7. Automatically generate or send proposals
Many proposal tools have an integration with Zapier, meaning that you can automatically generate proposals.
In the example below, the workflow is triggered by a form being filled out.
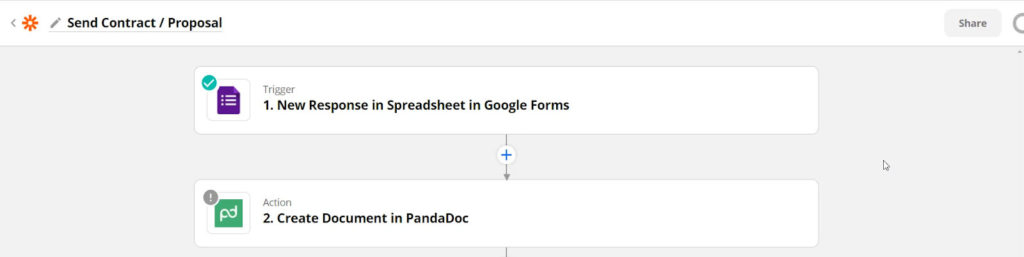
This form could be one that your client fills out, or you can have an internal form that is only used by your team.
Kicking off workflows using forms can be a great way to create streamlined processes. It makes it easy for your team, as they just need to work through each question on the form.
Once they fill it out, you can use that information to generate a proposal.
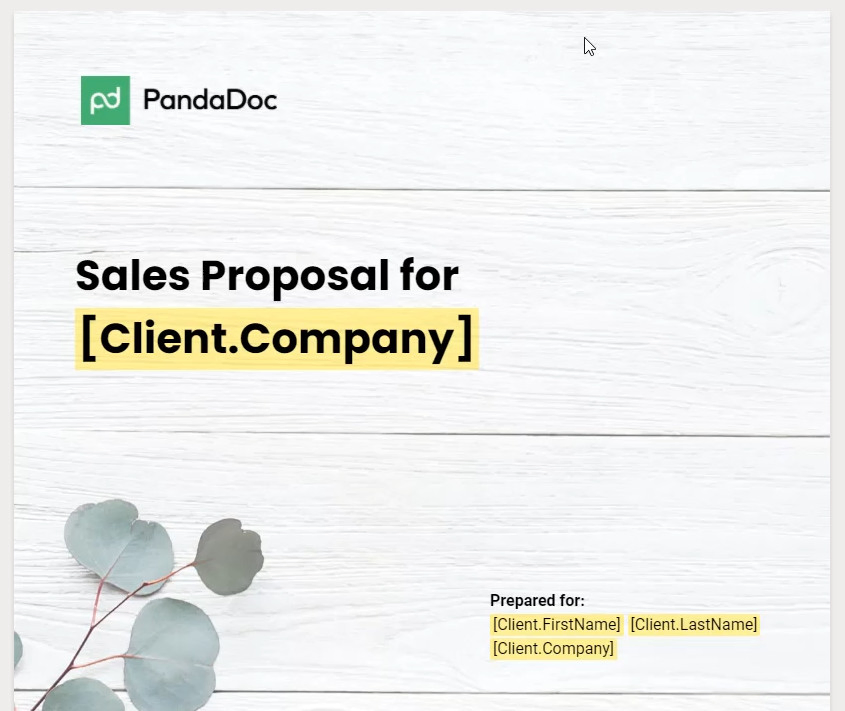
Some tools, like PandaDoc, allow you to add placeholders to your proposal, and fill them out with Zapier.
For example, you can add any placeholder with square brackets, like [Reason] in the screenshot below:
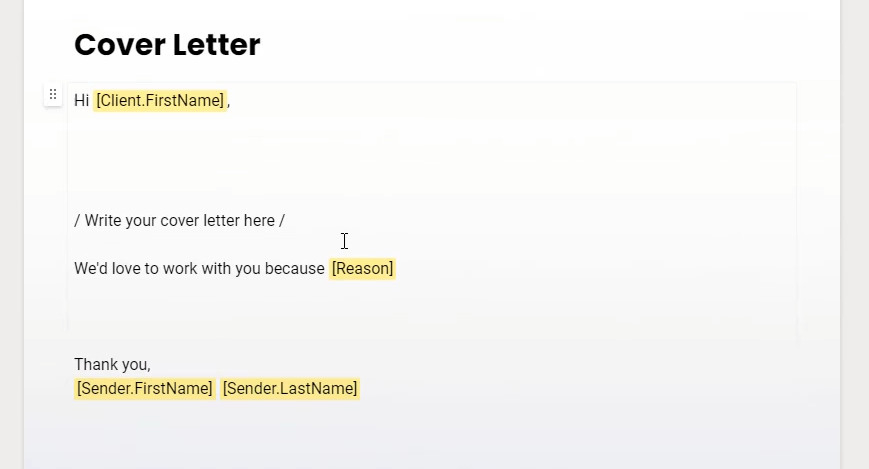
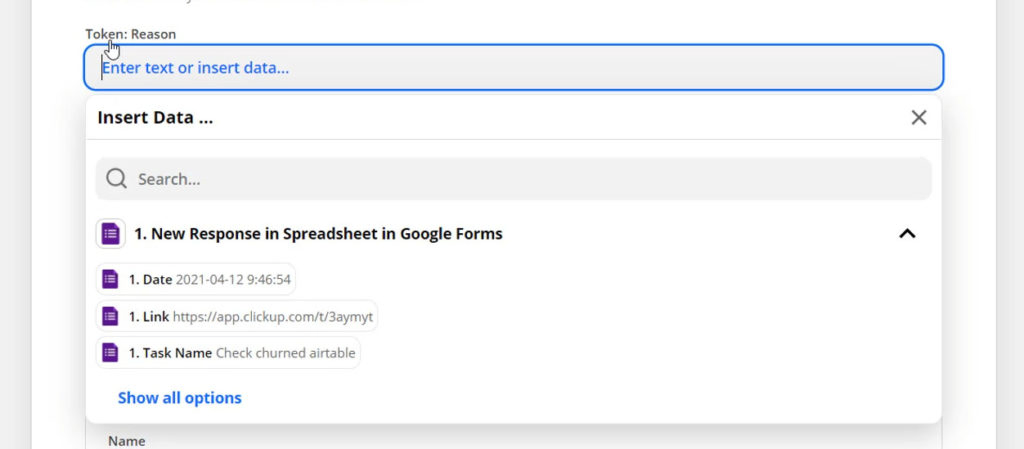
Then in Zapier, this shows up as a field called “Token: Reason”. You can add data from your form directly to this area in your proposal.
With most tools, you get the option to just generate the proposal OR send it to your client as well. This is handy if you’d like to first check over the proposal manually before sending it.
So you may want to create an automation that:
- Creates a draft proposal
- Creates a task for you to check the proposal
That might look like this:
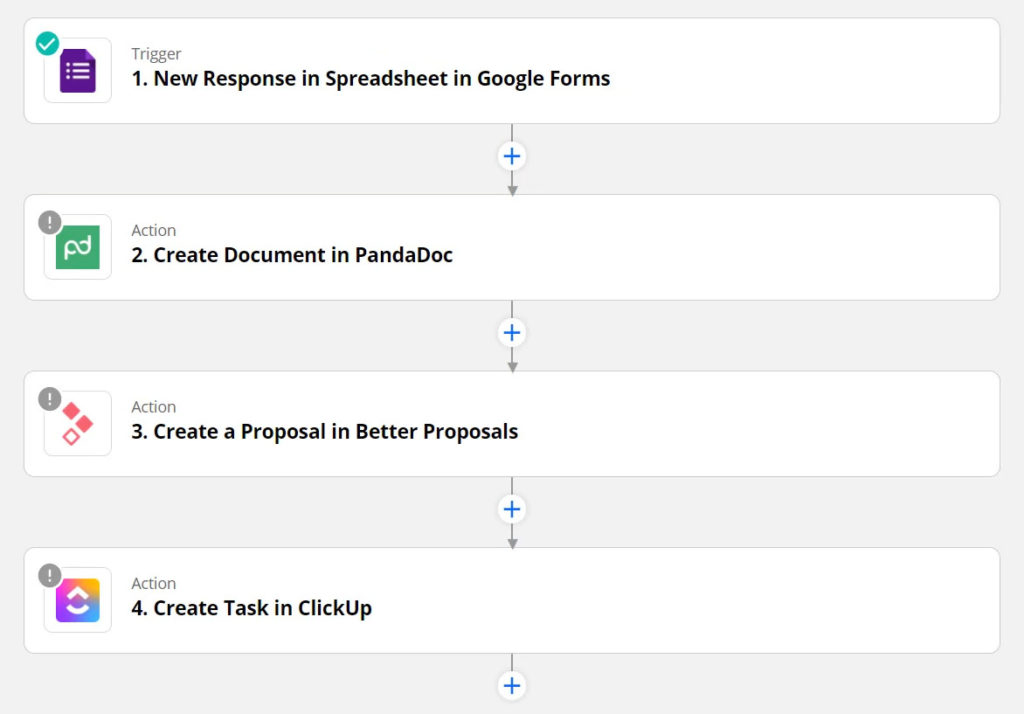
Note: Better Proposals is another great tool for sending proposals. Normally you wouldn’t have BOTH Better Proposals and PandaDoc in one workflow, it’s just an example above.
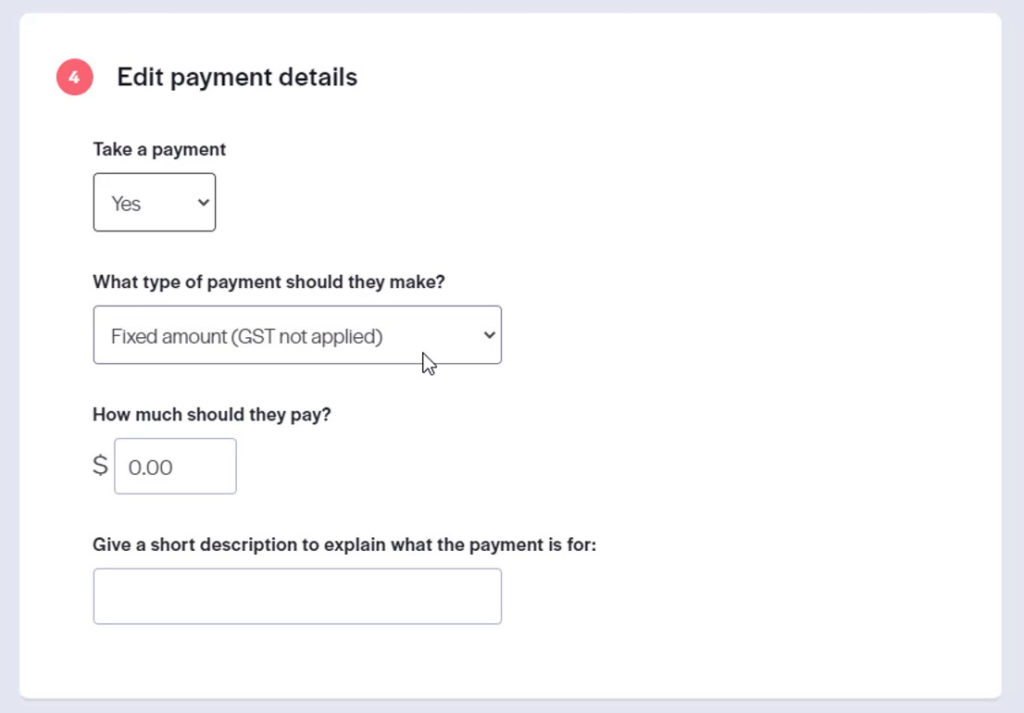
8. Get the deposit automatically
Many proposal tools allow you to require the client pay a deposit to accept their proposal.
In Better Proposals, you can provide a fixed amount, or a percentage of the total.
Client setup
This final section is my favourite. There are so many things you can automate once the person has signed their proposal and you’re ready to kick off their project.
9. Create channel in Slack
If you create a channel for each new project, use Zapier to automatically create a new channel in Slack once the client has signed their proposal.
You can even invite your team members to the newly created channel.
10. Create a new client Slack notification
Just like when someone filled out your initial form, you can automate a message to show up in Slack to congratulate your team on landing a new client, and let them know it is time to start work.

Note: In the above workflow, step 2 is to “Find Contact in ActiveCampaign”. The purpose of this step is to get information about our client that is stored in Active Campaign. When their proposal is signed, Better Proposals provides only some basic info like their company name & email, the proposal name, the price, etc.
If you need more information in the workflow, you can retrieve it from your CRM first. For example, Better Proposals doesn’t know the “lead source”. But if this is stored in your CRM, you can retrieve it, and include it in the Slack message.
For more info on this, please see the video at the top of this post (start at 14:55), or click here to skip directly to it.
11. Generate and send invoices
When their proposal is signed, generate an invoice in Xero, Quickbooks, Freshbooks, or whatever invoice tool you use.
Just like with proposals, you might wish to send it right away, or create it as a draft for approval before sending.
If you have already taken a deposit, some systems allow you to mark the invoice as paid before sending it to the client.

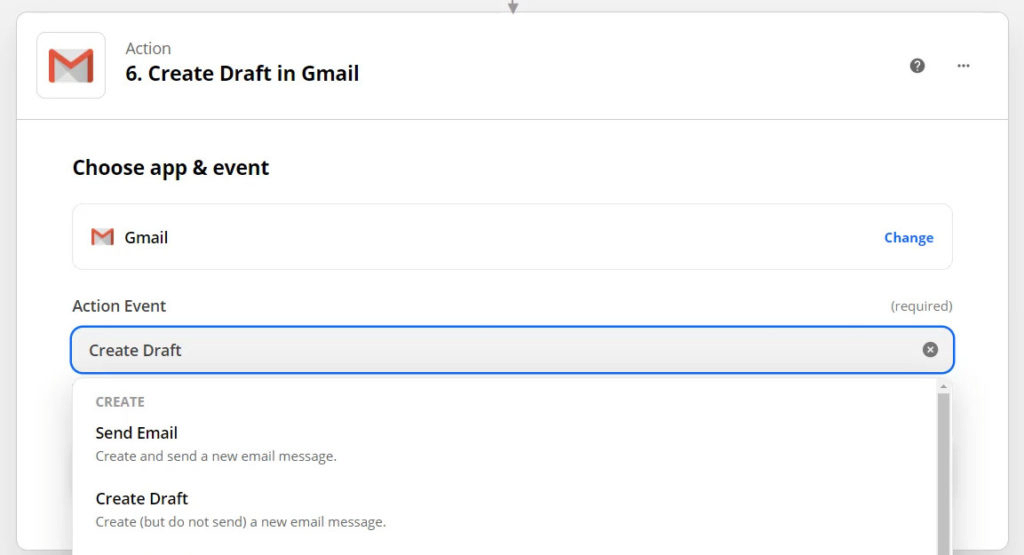
12. Send a welcome email to your new client
Use one of Zapier’s email integrations (like Gmail) to create a draft, or send a live email to your new client. This could include everything they need to know about your process, and what to expect over the coming weeks.
If you want to personalize the emails, simply create a draft rather than sending the email directly. Then you can edit the draft later and send it.
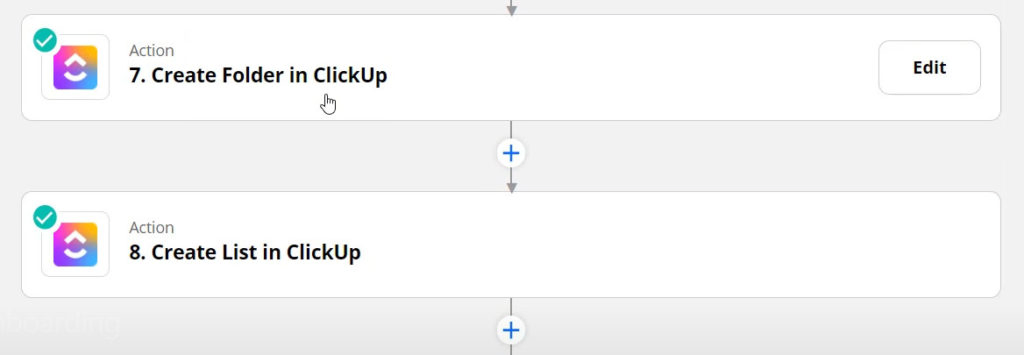
13. Set up a new project in your project management system
This part depends heavily on what project management system you’re using.
But in many systems, you can create all the initial tasks you need to start a project and assign them to the right people.
In ClickUp for example, you might want to create a folder for the client, and then create a task list from a template. The template might include all of the things your team needs to do to kick off the project. This way they are all immediately notified and know what to work on.
14. Create client folders
Most cloud storage has an integration with Zapier, for example Google Drive, Dropbox, Box and OneDrive.
With this integration you can automatically set up all the new client’s folders.
For a more detailed explanation of how to do this, read this post on automatically creating folders in Google Drive.
15. Gather information from your clients
If you need information from your clients before you can complete their projects, you’ll know how often this can totally derail everything.
You’ll end up chasing them for weeks.
A tool like Content Snare helps you gather all the information you need without having to chase them constantly – because it does the chasing for you.
Add another step in your workflow that sends a request for information in Content Snare so that your client can begin filling it out immediately.

16. Get access to client marketing accounts
Instead of sharing passwords and dealing with 2-factor authentication, you can use a tool like Leadsie to automate getting access to clients’ Facebook, Instagram, TikTok, and Google accounts.
You share a link with the client (or embed Leadsie on your site), they log in, and just like that, you have access and can get to work.
On top of that, Leadsie integrates with Zapier & co through Webhooks, so you can automate subsequent steps after getting access.
Your next steps
There is a lot to take in in this post, especially if you haven’t automated much before.
If you don’t know where to start, your best bet is to just pick ONE thing and try to automate it. You don’t need to do it all at once. You can always come back to modify and build on your automations later.
If you’ve never used Zapier before, start with this Zapier tutorial.
If you’re familiar enough to create your first workflow, start with automatically adding people to your CRM.
And if you’re comfortable with Zapier, just pick one other thing from the list above and build it!
