If you’re looking for a way to save endless amounts of time screenshotting and annotating images to send back to your clients, you’ve come to the right place!
Thought I’d share a free Windows screenshot tool I’ve been using called ShareX. I find it to be the best screenshot program for Windows.
The free tool comes loaded with handy features, but to learn how to use the tool to take screen captures and annotate them, follow these steps:
1. Head to getsharex.com and download the free screenshot tool.
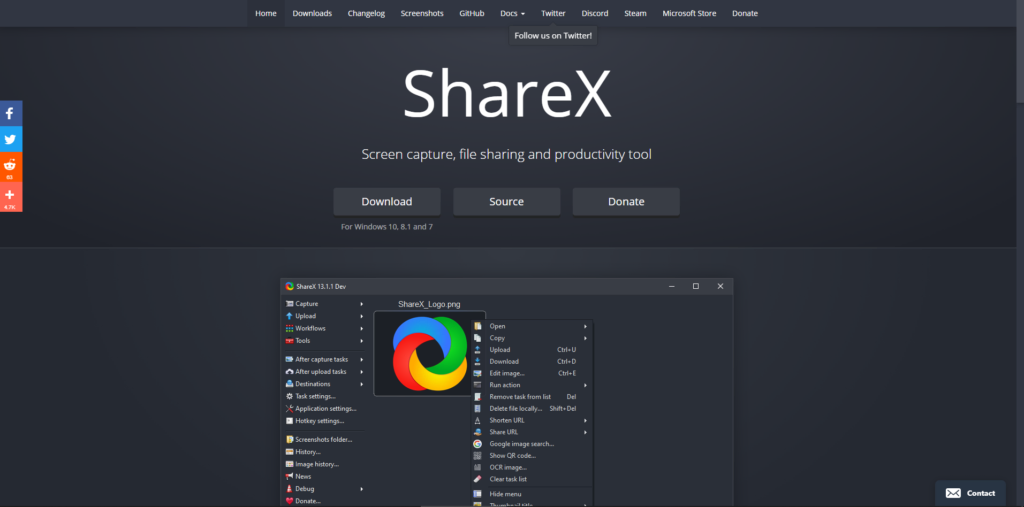
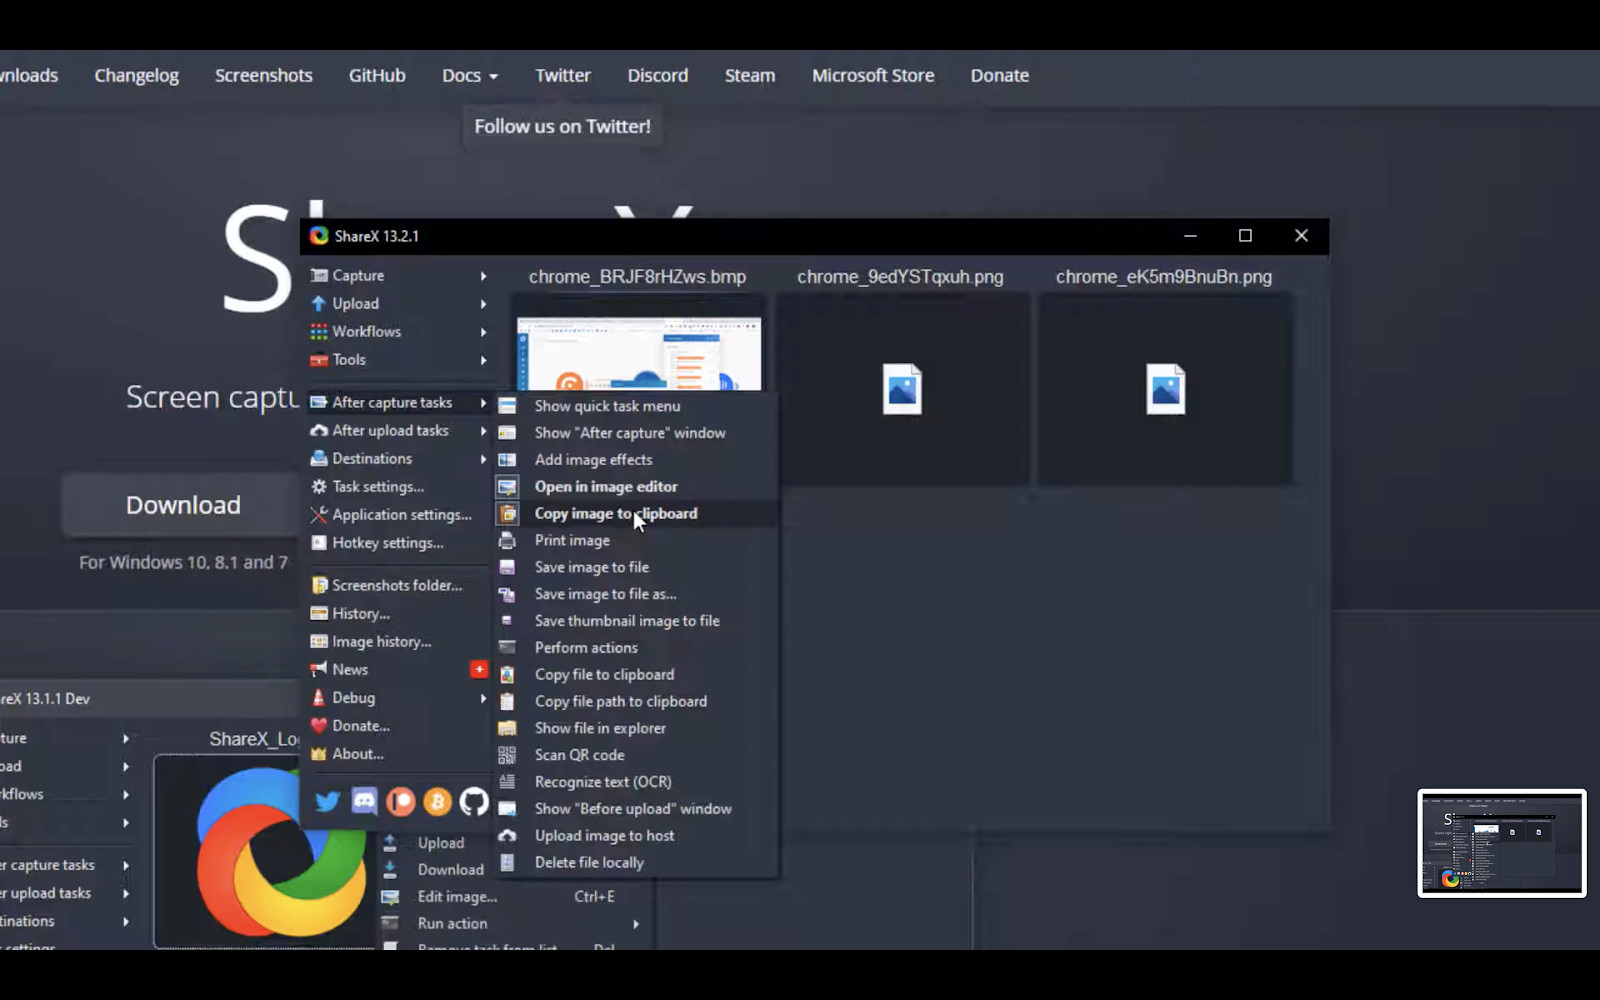
2. Once you’ve opened up the tool, enable these settings in the “after capture tasks” tab.
- Enable “open image editor”, so you can create annotations after you capture the page.
- Enable “copy image to clipboard” so that it will be easy to share after your capture.
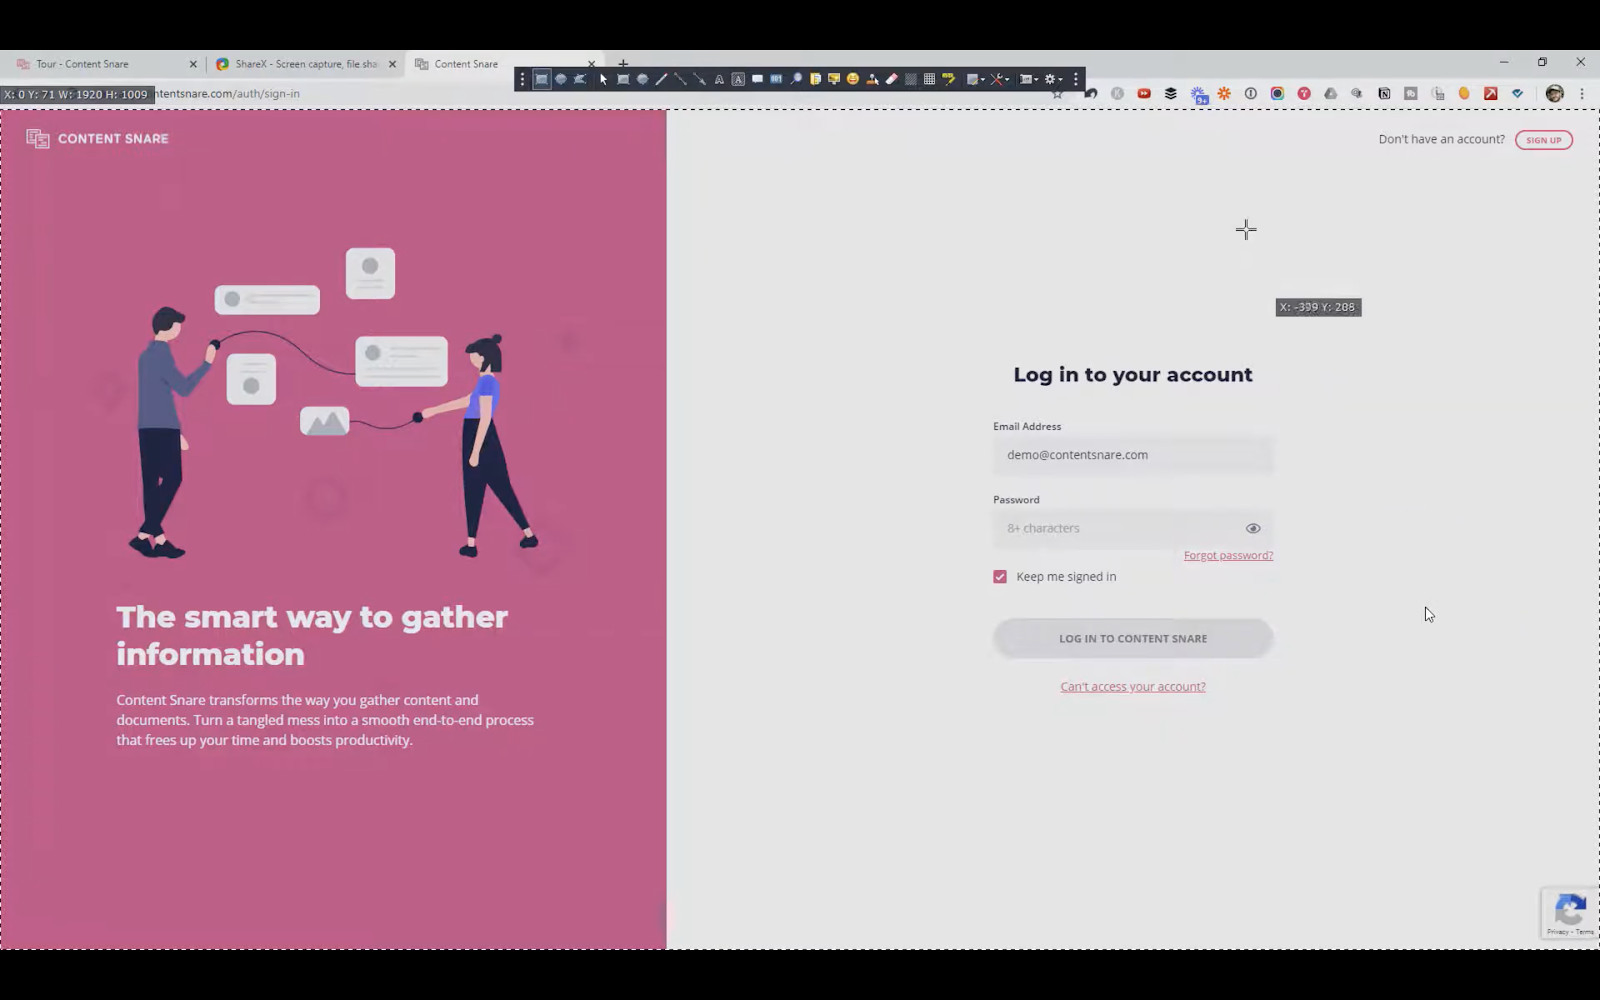
3. When you’re on the page you want to capture, use keyboard shortcut “cntrl + print” to take your screenshot. Dotted borders will show up to show you what you’re taking a screenshot of. Tweak the border to leave out things like your browser tabs if you like.
4. You can also use your mouse to draw a box around just one part of your screen that you want to capture.
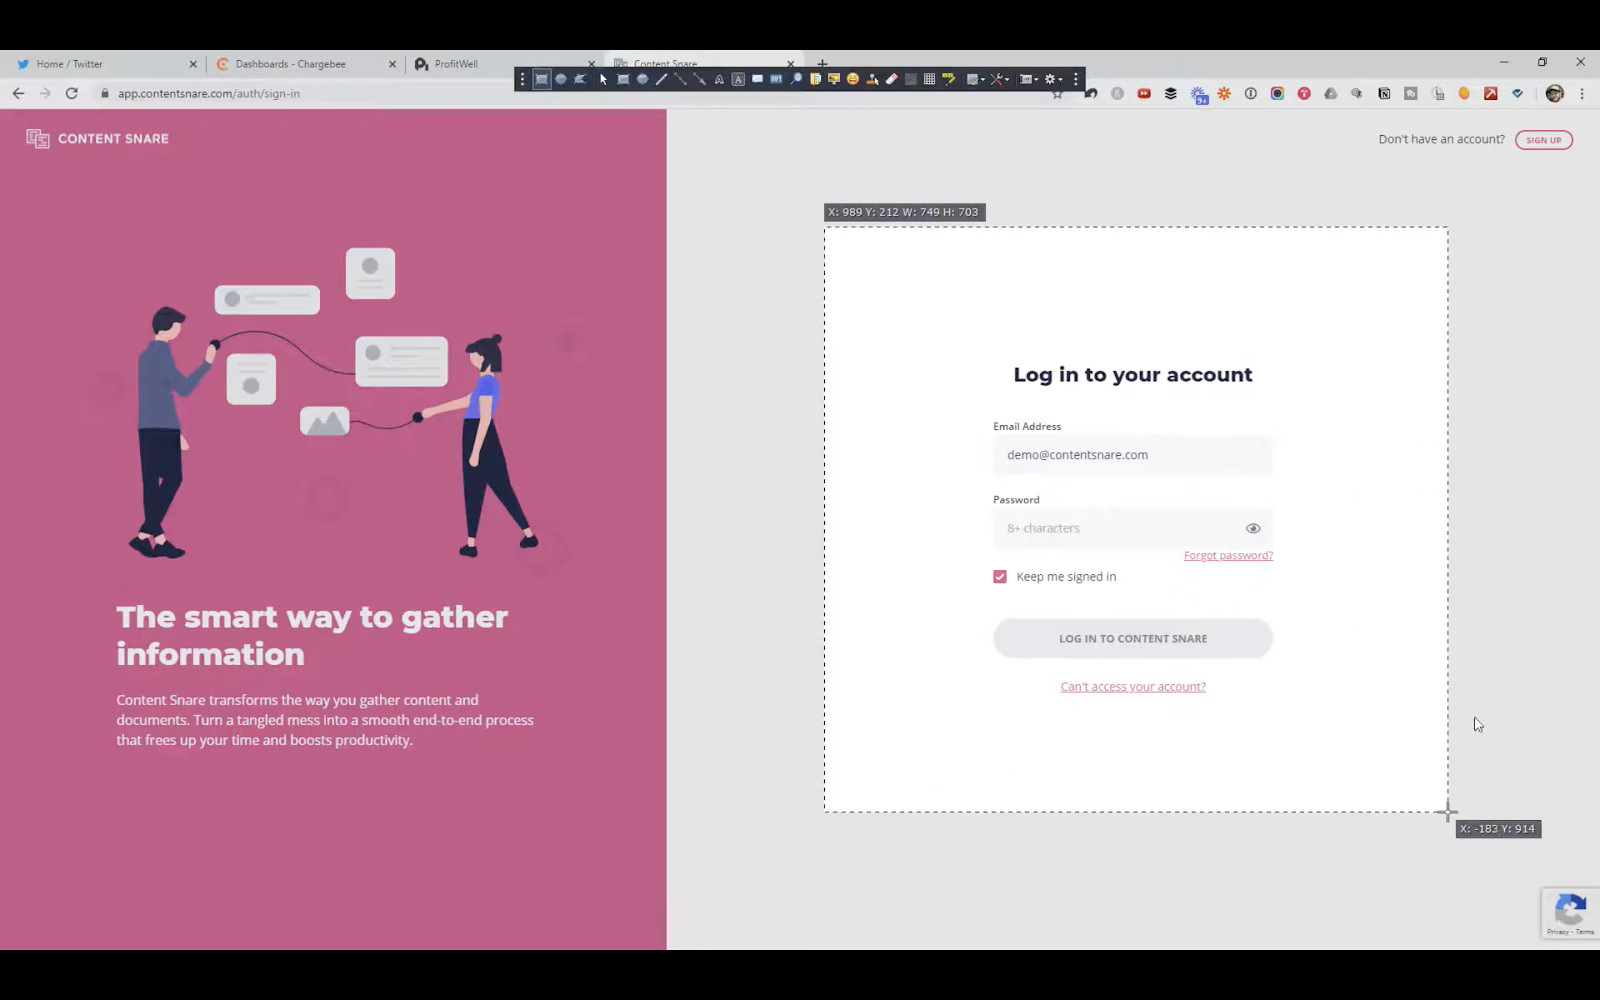
5. After you’ve selected your area and clicked, an editing panel will automatically pop up. This is where you can save to file, and annotate.
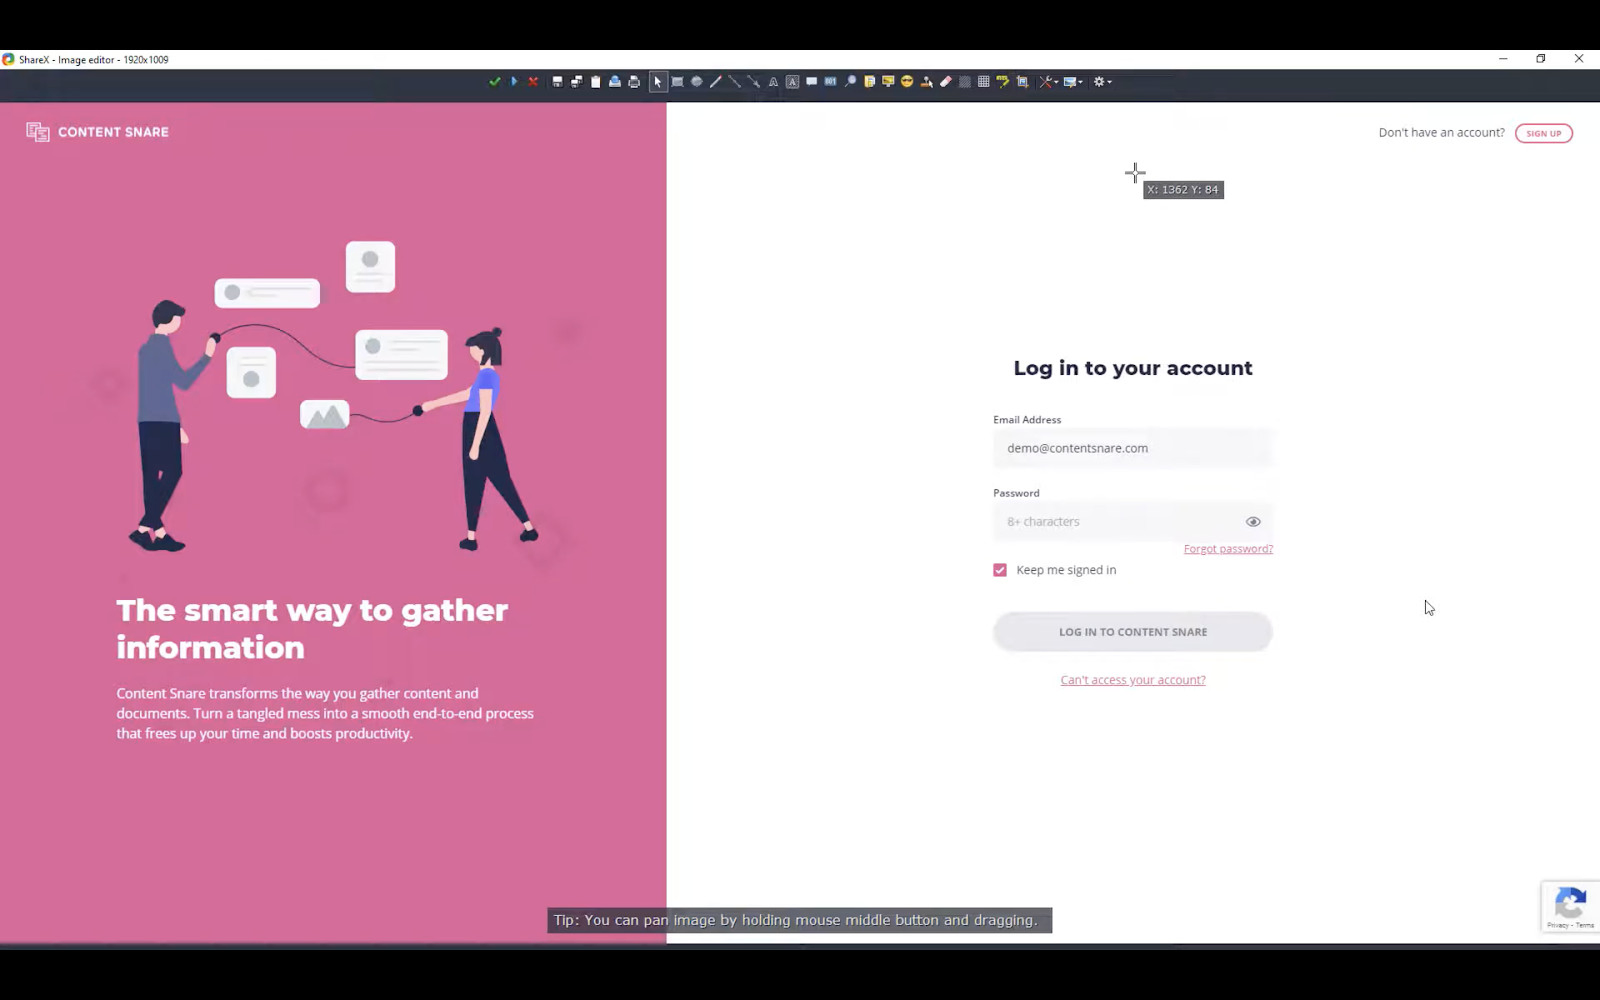
6. Have a look through the editing panel to see what functions you can perform over the screen shot. Hovering over the icons will tell you what keyboard shortcuts you can use. I like to use (A) for arrow and (O) for text outline.
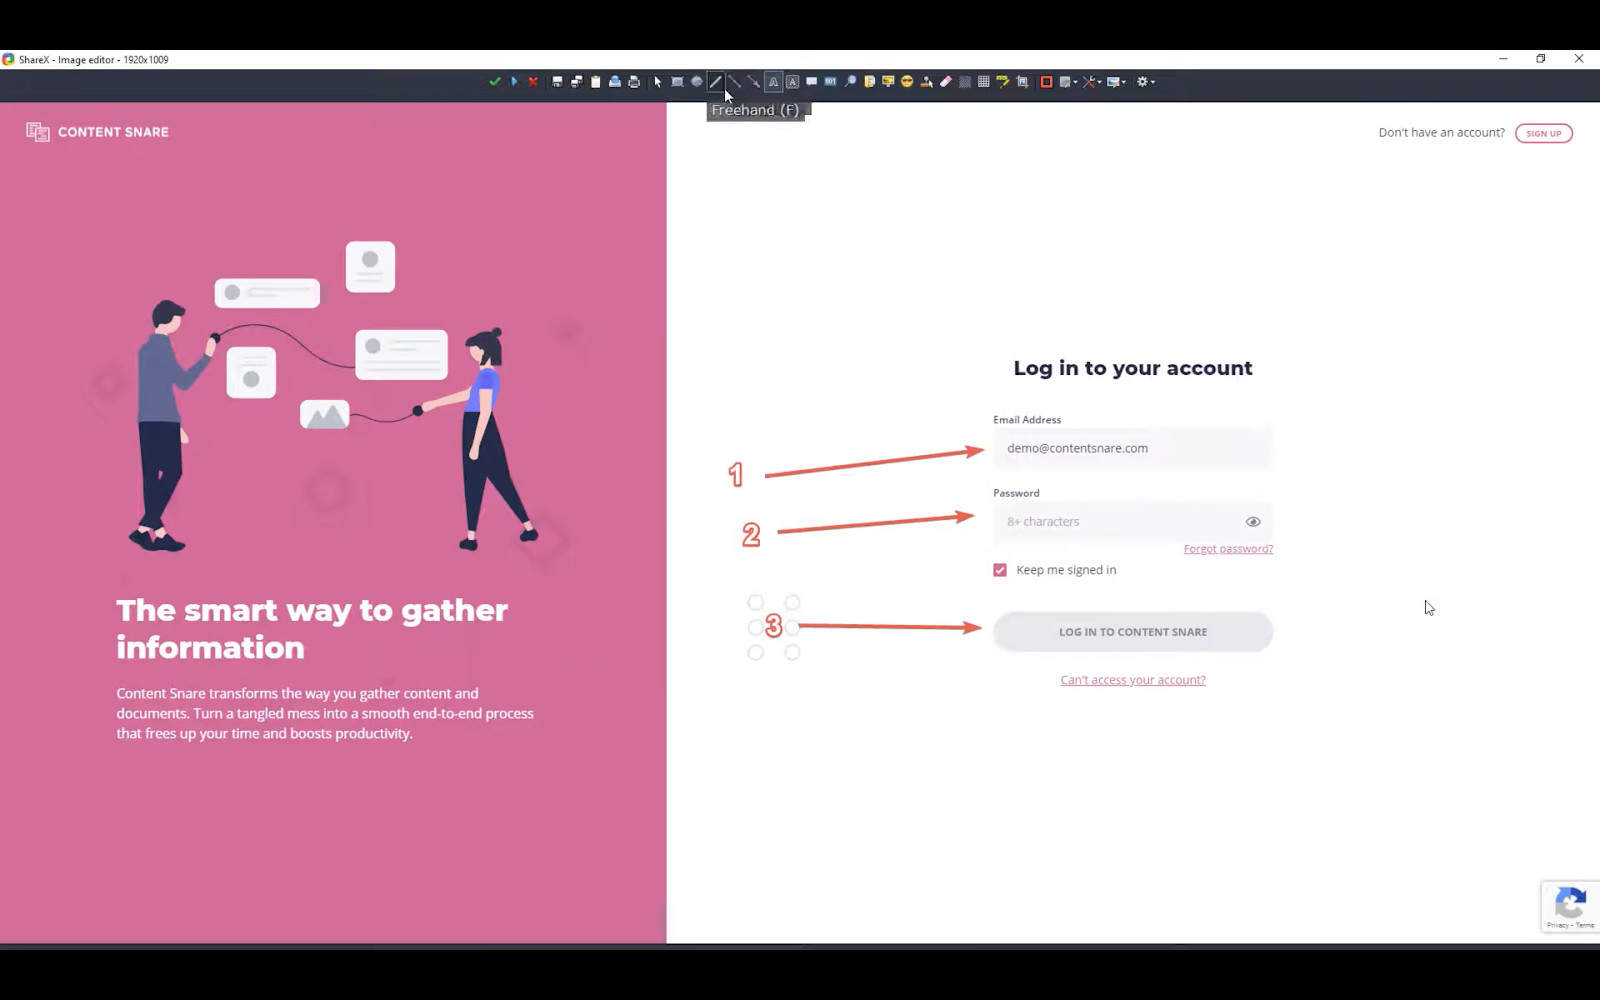
7. Once you’ve made your annotations, just hit “enter”.
8. You will now have your annotated screen capture copied into your clipboard. You can easily paste it into a chat, an app like paint, an email or a Google doc from your clipboard.
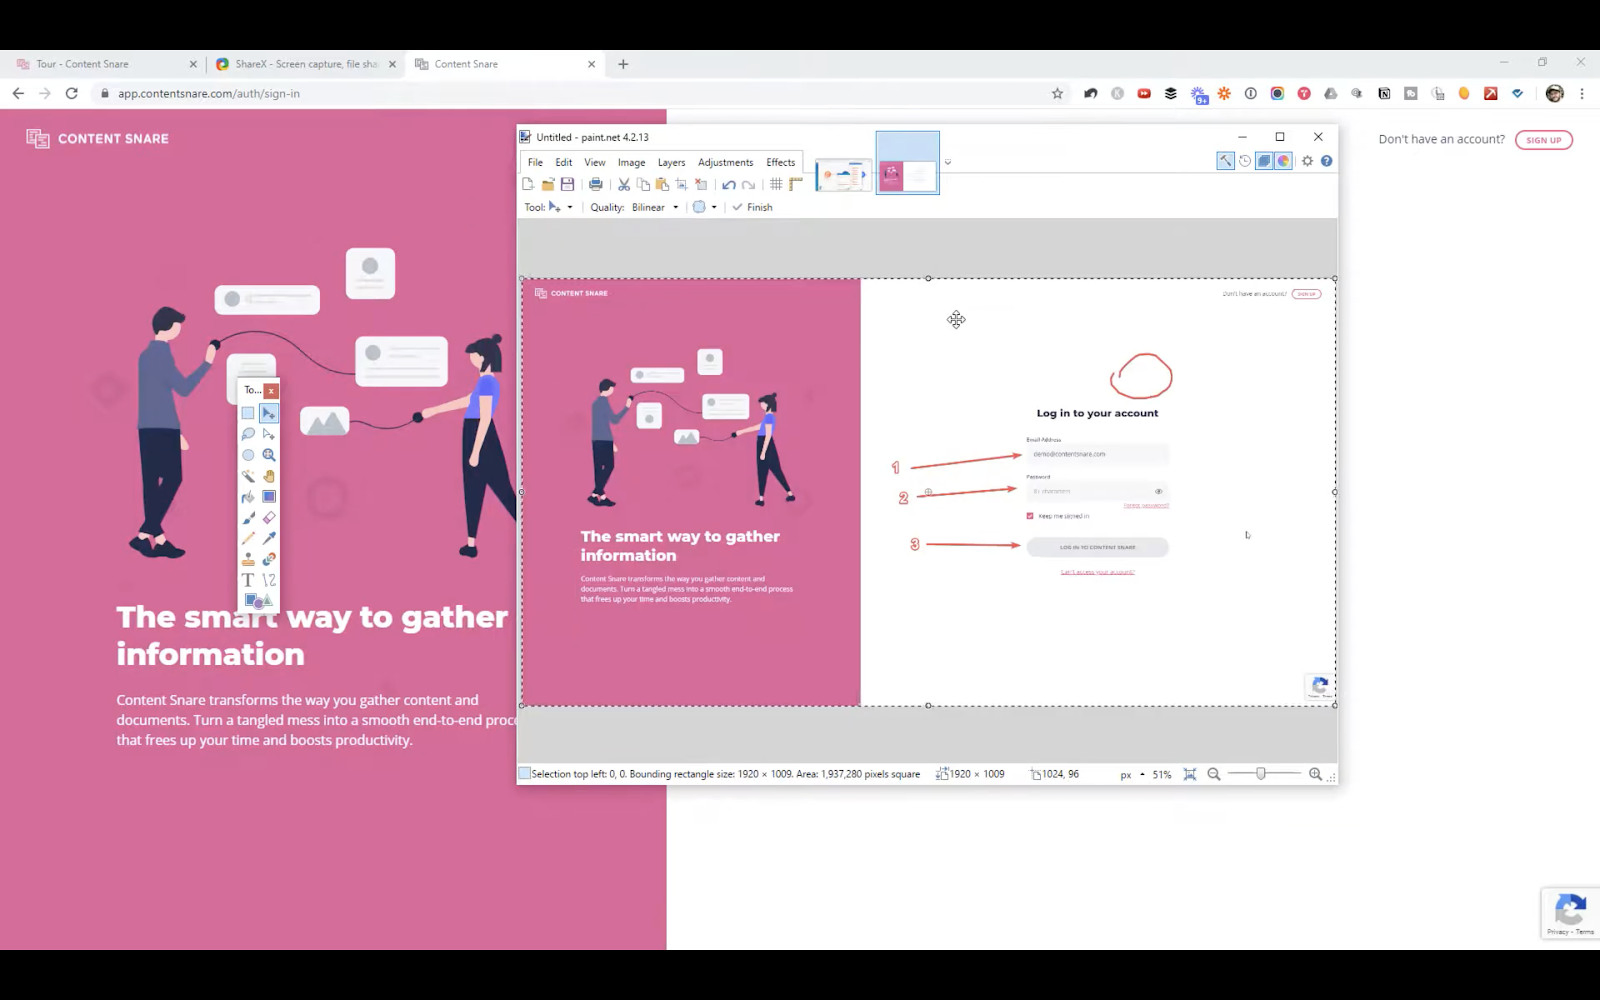
And that’s it! Enjoy this huge time saver for taking screen captures on a windows computer.